Hi,大家好!最近初次嘗試使用 svelte 開發一個新的專案,這篇文章會分享使用 firebase google login 以及搭配 xstate 的實作。
# svelte 的特色?
svelte 和其他前端框架的不同,在 svelte 的官網上是這樣介紹的:
Traditional frameworks allow you to write declarative state-driven code, but there's a penalty: the browser must do extra work to convert those declarative structures into DOM operations, using techniques like that eat into your frame budget and tax the garbage collector.
Instead, Svelte runs at build time, converting your components into highly efficient imperative code that surgically updates the DOM. As a result, you're able to write ambitious applications with excellent performance characteristics.
簡單來說,svelte 會在 build time 的時後編譯元件,performance 的表現上是不錯的。
想了解更多的話,推薦看 svelte 的 官方文件。
# QuickStart
透過下方的指令可以快速的開啟一個新的專案。
$npx degit sveltejs/template svelte-app# SetUp
首先,需要先到 firebase console 新增一個新的專案,再進入 project setting 內設定 App nickname 後就會生成 firebaseConfig。
這邊的 firebaseConfig 需要記下來,接下來專案中會需要用到。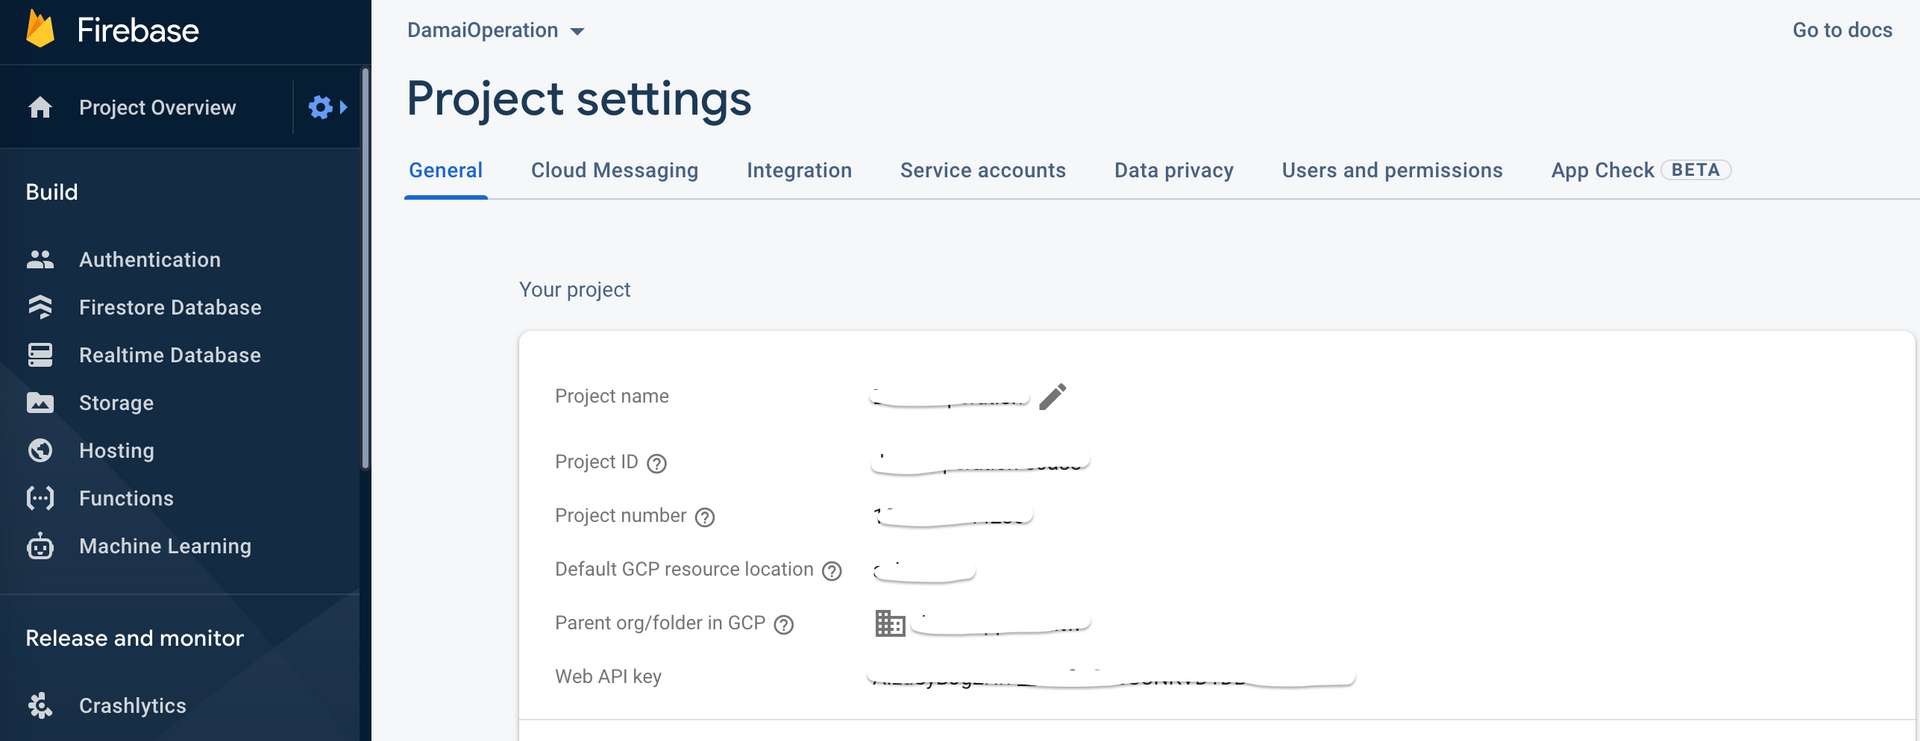
接著到 Authentication 設定 provider。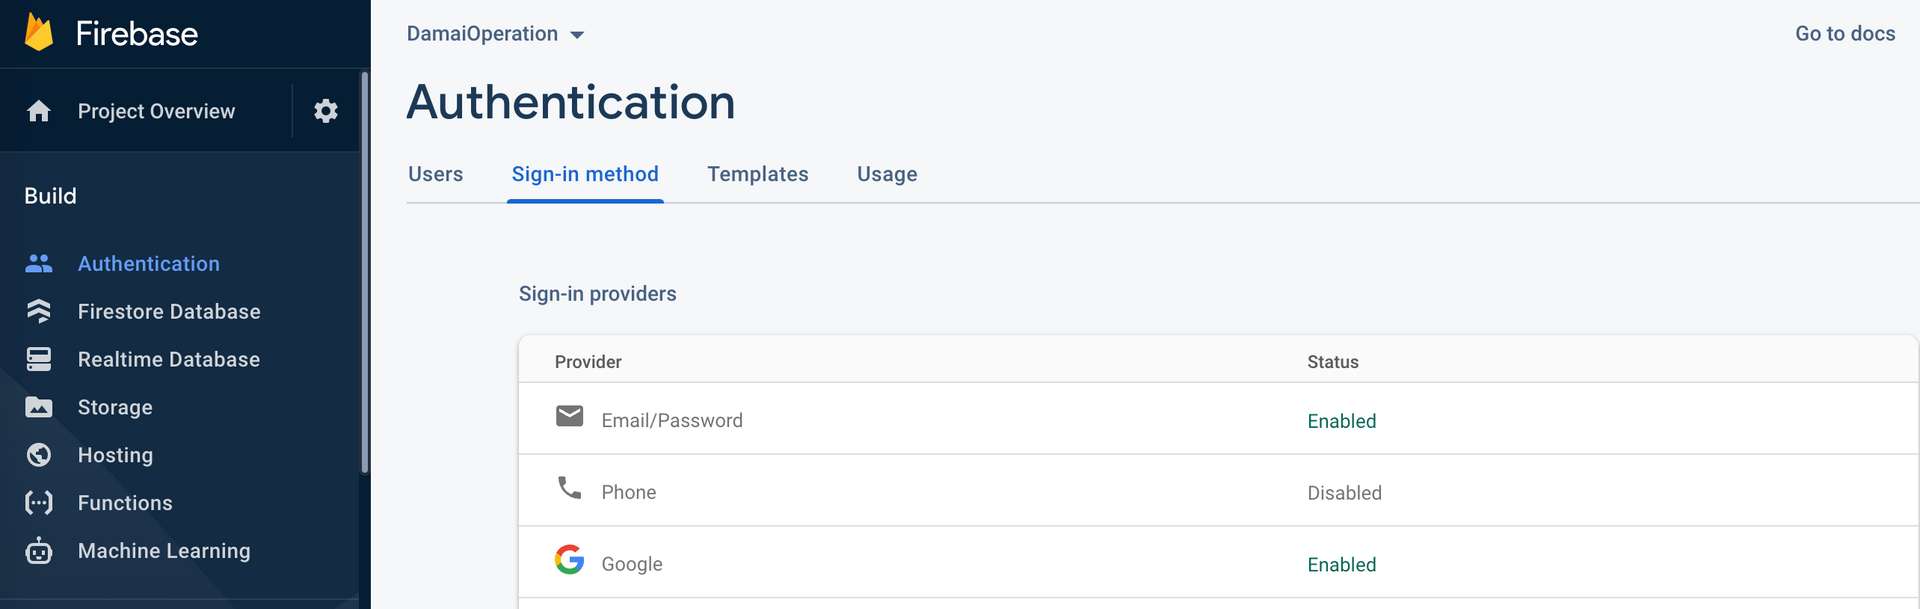
# 開始實作吧!
這邊先從 xstate 的 machine 開始設定,筆者使用的是 firebase 9 的版本,用法會跟 firebase 8 有些許差異,詳細資訊可以看 firebase 的 官方文件。
下方程式碼 services 中 checkLogin 內的 onAuthStateChanged 可以用來檢查 user 是否 sign in。
login 內的 setCustomParameters 有些參數可以設定,像是 hd(hosted domain) 可以設定你期望登入的使用者帳號。更多參數設定可以看 google identity 的 文件。
接著用 visualizer 來看一下登入的流程,logout 的部分因為還沒有想到好的寫法因此先沒有放在 machine 裡面,讀者如果有更好的寫法,歡迎留言分享!
# authMachine.js
import { createMachine, assign } from "xstate";
import { initializeApp } from "firebase/app";
import {
  getAuth,
  signInWithRedirect,
  signOut,
  onAuthStateChanged,
  GoogleAuthProvider,
} from "firebase/auth";

const firebaseConfig = {
  apiKey: `${import.meta.env.VITE_FIREBASE_KEY}`,
  authDomain: `${import.meta.env.VITE_FIREBASE_DOMAIN}`,
  projectId: `${import.meta.env.VITE_FIREBASE_PROJECT}`,
  storageBucket: `${import.meta.env.VITE_FIREBASE_STORAGE}`,
  messagingSenderId: `${import.meta.env.VITE_FIREBASE_SENDERID}`,
  appId: `${import.meta.env.VITE_FIREBASE_APPID}`,
};

initializeApp(firebaseConfig);

const authMachine = createMachine(
  {
    id: "auth",
    initial: "checkAuth",
    context: {
      auth: null,
      error: null,
    },
    states: {
      checkAuth: {
        invoke: {
          id: "authChecker",
          src: "checkLogin",
          onDone: { target: "signedIn", actions: "setAuth" },
          onError: {
            actions: ["setError", "clearAuth"],
          },
        },
        on: {
          LOGIN: { target: "signingIn" },
        },
      },
      signedIn: {},
      signingIn: {
        invoke: {
          id: "authenticator",
          src: "login",
          onDone: {
            target: "checkAuth",
            // clear error if successful login
            actions: "clearError",
          },
          onError: {
            // set an error
            actions: "setError",
          },
        },
      },
    },
  },
  {
    actions: {
      clearAuth: assign({ user: null, auth: null }),
      clearError: assign({ error: null }),
      setAuth: assign({ auth: (_, event) => event.data }),
      setError: assign({
        error: (_, event) => event.data,
      }),
    },
    services: {
      checkLogin: () => {
        return new Promise((resolve, reject) => {
          const auth = getAuth();
          const unsubscribe = onAuthStateChanged(auth, (user) => {
            unsubscribe();

            return user ? resolve(user) : reject();
          });
        });
      },
      login: (_, event) => {
        if (event.provider === "google") {
          const provider = new GoogleAuthProvider();
          const auth = getAuth();

          provider.setCustomParameters({
            hd: "errorBaker.com.tw",
            prompt: "select_account",
          });

          return signInWithRedirect(auth, provider);
        }
      },
    },
  }
);

export const logout = async () => {
  const auth = getAuth();
  await signOut(auth);
};

export default authMachine;
把上方的 machine 包在 svelte 的 store 中,onTransition 可以監聽每一次 state 的轉變。
# useMachine.js
import { readable } from "svelte/store";
import { interpret } from "xstate";

export const useMachine = (machine, options) => {
  const service = interpret(machine, options);

  // wrap machine in a svelte readable store with
  const store = readable(service.initialState, (set) => {
    // every time change state onTransition
    // hook is triggered
    service.onTransition((state) => {
      set(state);
    });

    // start the machine service
    service.start();

    return () => {
      service.stop();
    };
  });

  // return a custom Svelte store
  return {
    state: store,
    send: service.send,
  };
};
machine 設定完成後,我們來實作 App.svelte 。
透過 是否是 signedIn 的狀態來限制使用者進入頁面。
# App.svelte
<script>
  import { Router, Link, Route, navigate } from "svelte-routing";
  import Login from "./pages/Login.svelte";
  import NotFound from "./pages/NotFound.svelte";
  import Loading from "./components/Loading.svelte";

  // Admin Layout
  import Layout from "./layout/Layout.svelte";
  import Report from "./layout/Report.svelte";
  import { beforeUpdate } from "svelte";
  import { currentUser } from "./utils/stores";
  import authMachine from "./utils/lib/authMachine";
  import { useMachine } from "./utils/lib/useMachine";
  const { state } = useMachine(authMachine);

  // use custom auth machine store
  beforeUpdate(() => {
    if (!$state.matches("signedIn") && !$state.matches("checkAuth")) {
      navigate("/login");
    }
  });

  export let url = "";
</script>

<div>
  <Router url="{url}">
    {#if $state.matches('signedIn')}
    <Route path="/" component="{Report}" />
    <Route path="admin/*" component="{Layout}" />
    {:else if $state.matches('checkAuth')}
    <Loading />
    {/if}

    <Route path="/login" component="{Login}" />

    <Route path="*" component="{NotFound}" />
  </Router>
</div>
<style global lang="postcss">
  @tailwind base;
  @tailwind components;
  @tailwind utilities;
</style>
接著實作 Login.svelte !
這邊只需要使用 send({type:'LOGIN', provider: 'google'}) 並且偵測是否是在 signedIn 的狀態。
可以特別注意導頁的時間點,以及出現 loading 的時間,讓使用體驗更流暢。
# Login.svelte
<style lang="postcss">
  .title {
    font-family: "Ribeye Marrow", cursive;
  }
</style>

<script>
  import { fade } from "svelte/transition";
  import Google from "../components/Google.svelte";
  import { navigate } from "svelte-routing";
  import { currentUser } from "../utils/stores";
  import authMachine from "../utils/lib/authMachine";
  import { useMachine } from "../utils/lib/useMachine";
  const { state, send } = useMachine(authMachine);
  async function loginProcess() {
    send({ type: "LOGIN", provider: "google" });
  }
  state.subscribe((state) => {
    if (state.value === "signedIn") {
      navigate("/");
      currentUser.set({
        username: state.context.auth.displayName,
        email: state.context.auth.email,
        picture: state.context.auth.photoURL,
        accessToken: state.context.auth.accessToken,
        isLogin: true,
      });
    }
  });
</script>

<div in:fade id="Login" class="h-screen  flex items-center justify-center">
  <!-- card -->
  <section
    class="max-w-2xl mx-auto p-6 overflow-hidden bg-white rounded-lg  dark:bg-gray-800"
  >
    <div
      class="title md:text-4xl text-3xl flex items-center justify-center flex-wrap	"
    >
      <span class="mr-2 whitespace-nowrap">Login with</span>
      <Google className="inline-block" />
    </div>

    <img
      class="object-cover w-3/4 md:w-3/4 sm:w-3/4 lg:w-2/3  m-auto  mb-20"
      src="../images/login.png"
      alt="login"
    />
    <div class="flex items-center justify-center">
      {#if $state.matches('checkAuth')}
      <button
        type="button"
        class=" w-full flex items-center cursor-not-allowed justify-center capitalize transition-colors tracking-wide py-2 bg-yellow px-4 focus:outline-none  text-white text-base font-semibold rounded-lg transition shadow-md  ease-in-out duration-500"
        disabled
      >
        <svg
          class="animate-spin h-5 w-5 mr-3 "
          width="24"
          height="24"
          viewBox="0 0 24 24"
          fill="none"
          xmlns="http://www.w3.org/2000/svg"
        >
          <path
            opacity="0.2"
            fill-rule="evenodd"
            clip-rule="evenodd"
            d="M12 19C15.866 19 19 15.866 19 12C19 8.13401 15.866 5 12 5C8.13401 5 5 8.13401 5 12C5 15.866 8.13401 19 12 19ZM12 22C17.5228 22 22 17.5228 22 12C22 6.47715 17.5228 2 12 2C6.47715 2 2 6.47715 2 12C2 17.5228 6.47715 22 12 22Z"
            fill="#FBF6EB"
          />
          <path
            d="M2 12C2 6.47715 6.47715 2 12 2V5C8.13401 5 5 8.13401 5 12H2Z"
            fill="#FBF6EB"
          />
        </svg>

        Processing
      </button>
      {:else}
      <button
        on:click="{loginProcess}"
        class="
        w-2/3
        text-base
        font-semibold
        py-2
        px-4
        text-white
        bg-yellow
        hover:bg-yellow
        rounded-lg
        shadow-md
        focus:outline-none
        transition
        duration-500
        ease-in-out
      "
      >
        Login
      </button>
      {/if}
    </div>
  </section>
</div>
最後來看一下實際完成的流程吧!
# 回顧
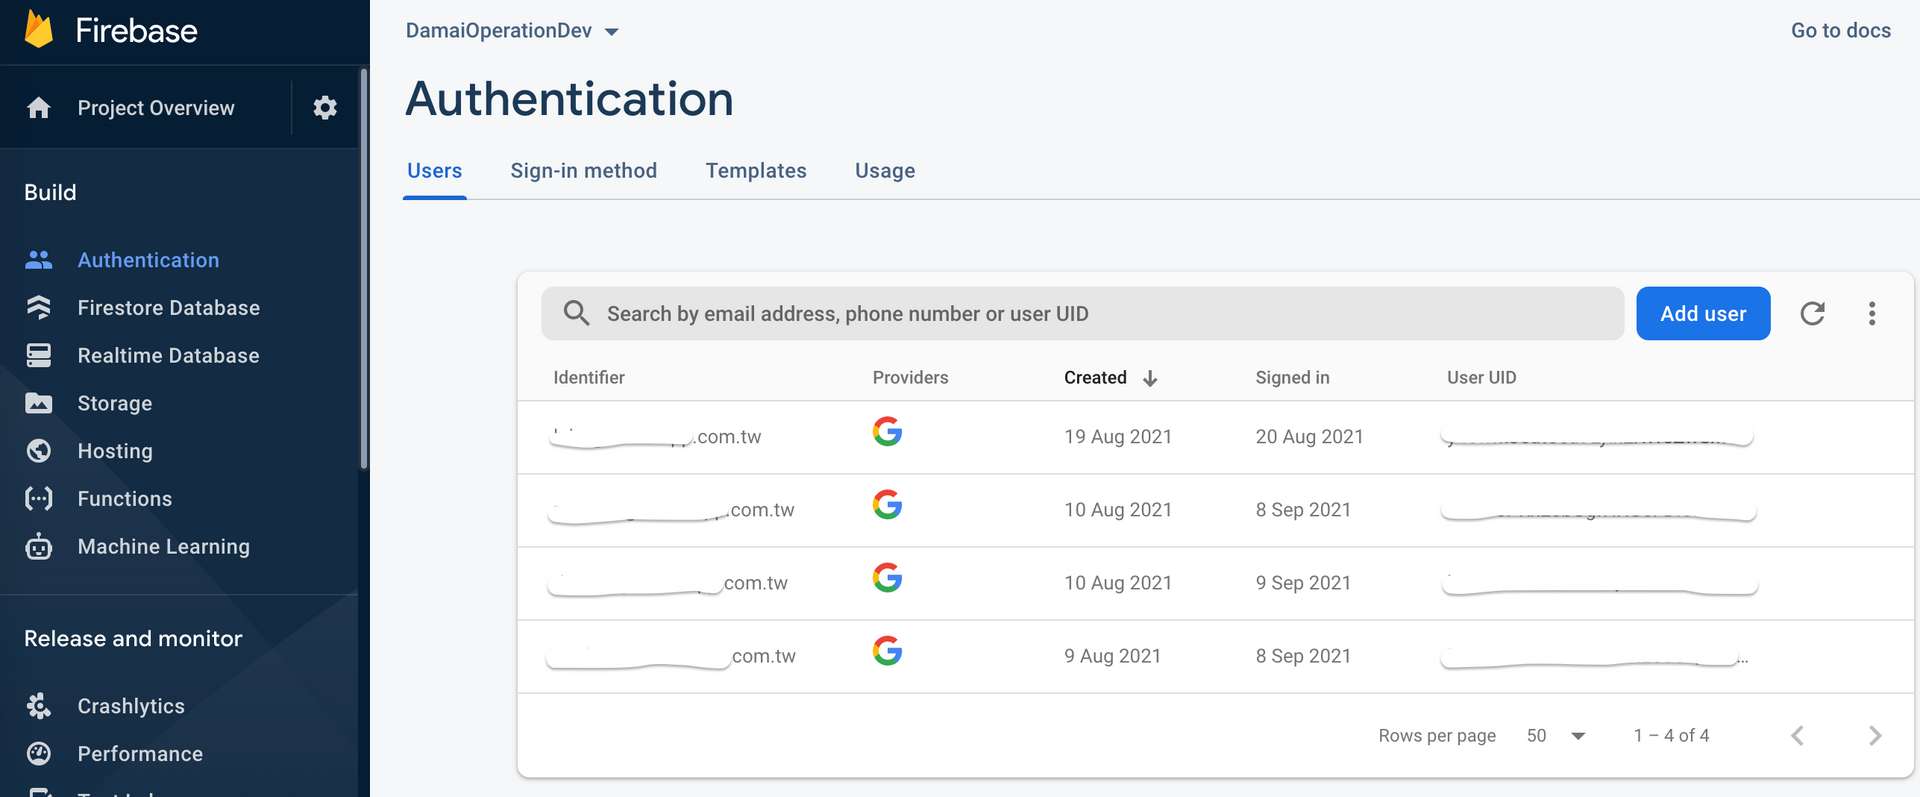
一開始在 firebase 開啟的 google login 設定,在使用者登入後我們可以在 firebase 看得到使用者被新增的時間點跟最後一次登入的時間點。
# 小結
在 google login 成功後可以拿到 idToken 來使用,但須特別注意的是 token 有效時限是 一個小時,因此還需要實作 refresh token 的部分。
整體使用 svelte 實作的過程,渡過熟悉規則上的使用後,覺得還蠻不錯的,推薦給大家!
在閱讀文章時如果有遇到什麼問題,或是有什麼建議,都歡迎留言告訴我,謝謝。😃
# 參考資料
關於作者
喜歡有趣的設計