Hi,大家好! 前陣子專案上接到一個需求,從後台編輯的 text editor,如何在 client 端一致的渲染出後台在 text editor 送出的資料!這篇文章會帶著大家認識如何透過 Quill 實作。
# 什麼是 Quill?
以下為 Quill 官方文件 上對自己的介紹:
Quill is a modern rich text editor built for compatibility and extensibility.
簡單來說,Quill 是一個現代化的文字編輯器。想了解更多的話,推薦看 Quill 的 官方文件。
# 用 JSON 資料也可以成功渲染嗎?
之所以提出這個問題,是因為用 Quill 編輯器產生的內容,拿到的會是 Delta。
# 什麼是 Delta?
Deltas are a simple, yet expressive format that can be used to describe Quill’s contents and changes. The format is a strict subset of JSON, is human readable, and easily parsible by machines. Deltas can describe any Quill document, includes all text and formatting information, without the ambiguity and complexity of HTML.
簡單來說,Delta 將所有描述 html 上的資料簡化成了 JSON 格式,簡化了可讀性。想了解更多的話,推薦看 Quill 的 官方文件。
# 開始實作吧!
先帶大家看一下第一種實作方法。
透過下方的指令可以快速的安裝 react-quill。
$yarn add react-quill@beta接著引用 theme,bubble 這個 style 不會顯示 編輯器的編輯欄,只會顯示內容。
import NextDocument, { Html, Head, Main, NextScript } from "next/document";
import { ColorModeScript } from "@chakra-ui/react";

export default class Document extends NextDocument {
  render() {
    return (
      <Html>
        <Head>
          <link
            rel="stylesheet"
            href="https://unpkg.com/react-quill@1.3.3/dist/quill.bubble.css"
          />
        </Head>

        <body>
          {/* Make Color mode to persists when you refresh the page. */}
          <ColorModeScript />
          <Main />
          <NextScript />
        </body>
      </Html>
    );
  }
}
接著使用 編輯器 拿到 delta 資料。
{
"ops": [
{
"attributes": {
"background": "#ffffff",
"color": "#333333",
"bold": true
},
"insert": "拉吉波拉拉村免裝備露營"
},
{
"attributes": {
"background": "#ffffff",
"color": "#333333"
},
"insert": ":園區內的星月花園及小溪樂園提供廣闊的草坪及人造溪流。"
},
{
"insert": "\n\n"
},
{
"insert": {
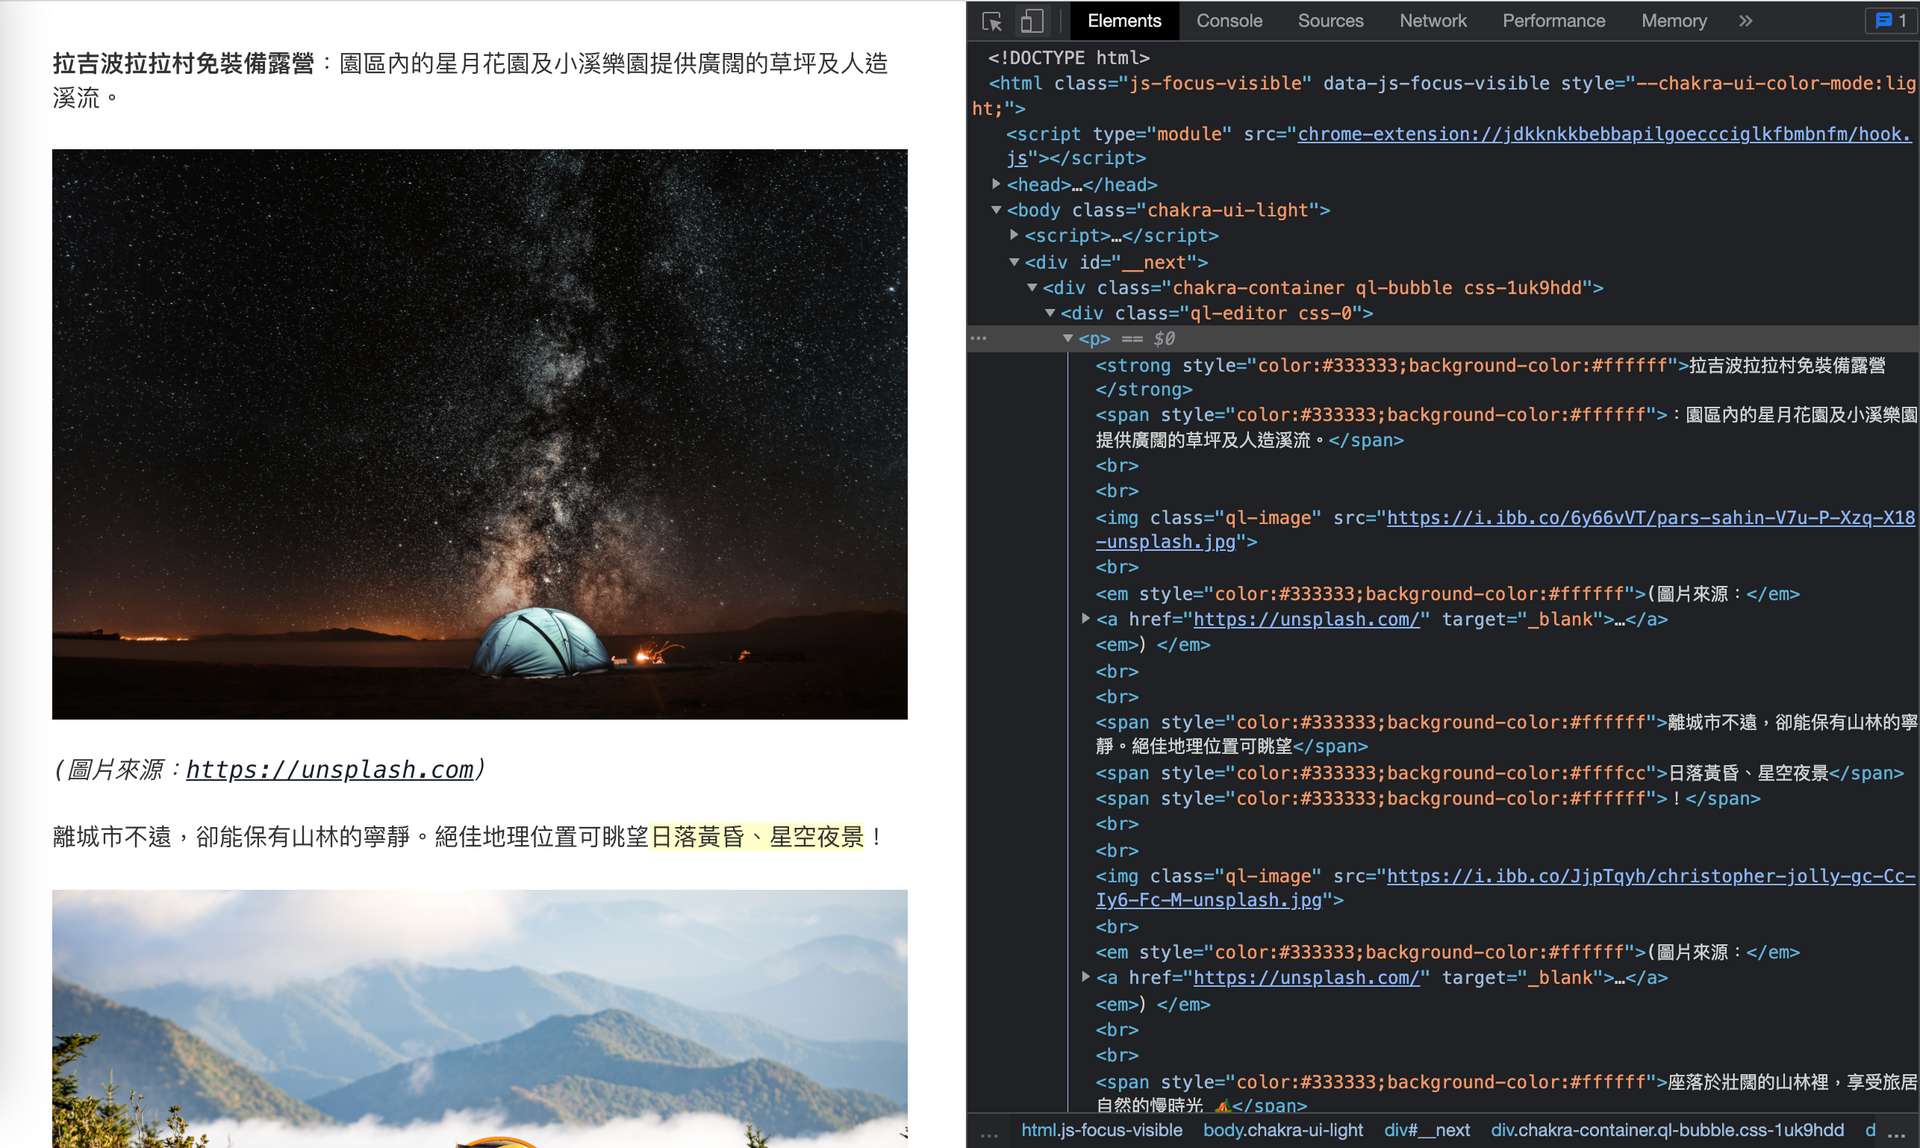
"image": "https://i.ibb.co/6y66vVT/pars-sahin-V7u-P-Xzq-X18-unsplash.jpg"
}
},
{
"insert": "\n"
},
{
"attributes": {
"color": "#333333",
"background": "#ffffff",
"italic": true
},
"insert": "(圖片來源:"
},
{
"attributes": {
"italic": true,
"link": "https://unsplash.com/"
},
"insert": "https://unsplash.com"
},
{
"attributes": {
"italic": true
},
"insert": ")"
},
{
"insert": "\n\n"
},
{
"attributes": {
"background": "#ffffff",
"color": "#333333"
},
"insert": "離城市不遠,卻能保有山林的寧靜。絕佳地理位置可眺望"
},
{
"attributes": {
"background": "#ffffcc",
"color": "#333333"
},
"insert": "日落黃昏、星空夜景"
},
{
"attributes": {
"background": "#ffffff",
"color": "#333333"
},
"insert": "!"
},
{
"insert": "\n\n"
},
{
"insert": {
"image": "https://i.ibb.co/JjpTqyh/christopher-jolly-gc-Cc-Iy6-Fc-M-unsplash.jpg"
}
},
{
"insert": "\n"
},
{
"attributes": {
"color": "#333333",
"background": "#ffffff",
"italic": true
},
"insert": "(圖片來源:"
},
{
"attributes": {
"italic": true,
"link": "https://unsplash.com/"
},
"insert": "https://unsplash.com"
},
{
"attributes": {
"italic": true
},
"insert": ")"
},
{
"insert": "\n\n"
},
{
"attributes": {
"background": "#ffffff",
"color": "#333333"
},
"insert": "座落於壯闊的山林裡,享受旅居自然的慢時光 🏕"
},
{
"insert": "\n"
}
]
}下一步,把內容顯示出來。
在 NextJs 透過 dynamic 的方式引用,把 delta 轉成 html 後,搭配 readOnly 以及 bubble 這個 style 順利的渲染出資料。
import React from "react";
import dynamic from "next/dynamic";
import { Container } from "@chakra-ui/react";
import { QuillDeltaToHtmlConverter } from "quill-delta-to-html";
import {contents} from './contents'

const ReactQuill = dynamic(import("react-quill"), {
  ssr: false,
  loading: () => <p>Loading ...</p>,
});

export default function Product() {
  const justHtmlContent = {};
  const converter = new QuillDeltaToHtmlConverter(
    contents.ops,
    justHtmlContent
  );
  const html = converter.convert();

  return (
    <Container>
      <ReactQuill readOnly={true} theme="bubble" value={html} />
    </Container>
  );
}
從上方的第一種方法,我們可以把拿到的 delta 資料一致的顯示出來,從上方圖片中的 html 我們可以看到 Quill 的 className 也成功地被置入。
但是... 真的有需要引用整包 react-quill 嗎?
筆者從這個 issue 的對話串中被啟發了!
是的,接下來為大家介紹第二種實作方法。
我們拿到 html 後事實上只需要特別注意 css 如何被正確的渲染。
從剛剛第一個方法,我們可以知道 Quill 透過特別的 className 讓引入的 theme 能夠成功渲染。
這邊我們手動加上 ql-bubble 以及 ql-editor 兩個 className。
import React  from 'react';
import { Container, Box } from '@chakra-ui/react';
import { QuillDeltaToHtmlConverter } from 'quill-delta-to-html';
import {contents} from './contents'

export default function Product() {
  const justHtmlContent = {};
  const converter = new QuillDeltaToHtmlConverter(contents.ops, justHtmlContent);
  const html = converter.convert();

  return (
    <Container className="ql-bubble">
      <Box dangerouslySetInnerHTML=__html: html className="ql-editor"></Box>
    </Container>
  );
}
一樣可以把拿到的 delta 資料一致的顯示出來,並且不需要引用整包 react-quill,只需要引用 Quill 提供的 theme。
# 小結
在實作過程中反覆審視是否是目前的最佳作法,整體來說蠻有趣的!
在閱讀文章時如果有遇到什麼問題,或是有什麼建議,都歡迎留言告訴我,謝謝。😃
# 參考資料
- Documentation | Quill
- Issue | Render quill delta without instantiating an editor
- StackOverflow | How to import css from React Quill?
關於作者
喜歡有趣的設計